The Whangie hike Loch Lomond Scotland is a rewarding short hill walk featuring a dramatic rock corridor, open countryside, and views towards Loch Lomond and the surrounding Scottish hills. Starting at Queen’s View car park on the A809, this route is ideal for walkers seeking a memorable outdoor adventure without committing to a full-day mountain hike.
The key to enjoying this walk is preparing for muddy ground, understanding the route, checking the weather, and allowing enough time to explore the unusual rock formation safely. This guide covers the distance, walking time, parking, directions, equipment, photography opportunities, and practical tips for planning your visit.
The Whangie Hike Loch Lomond Scotland: Quick Facts
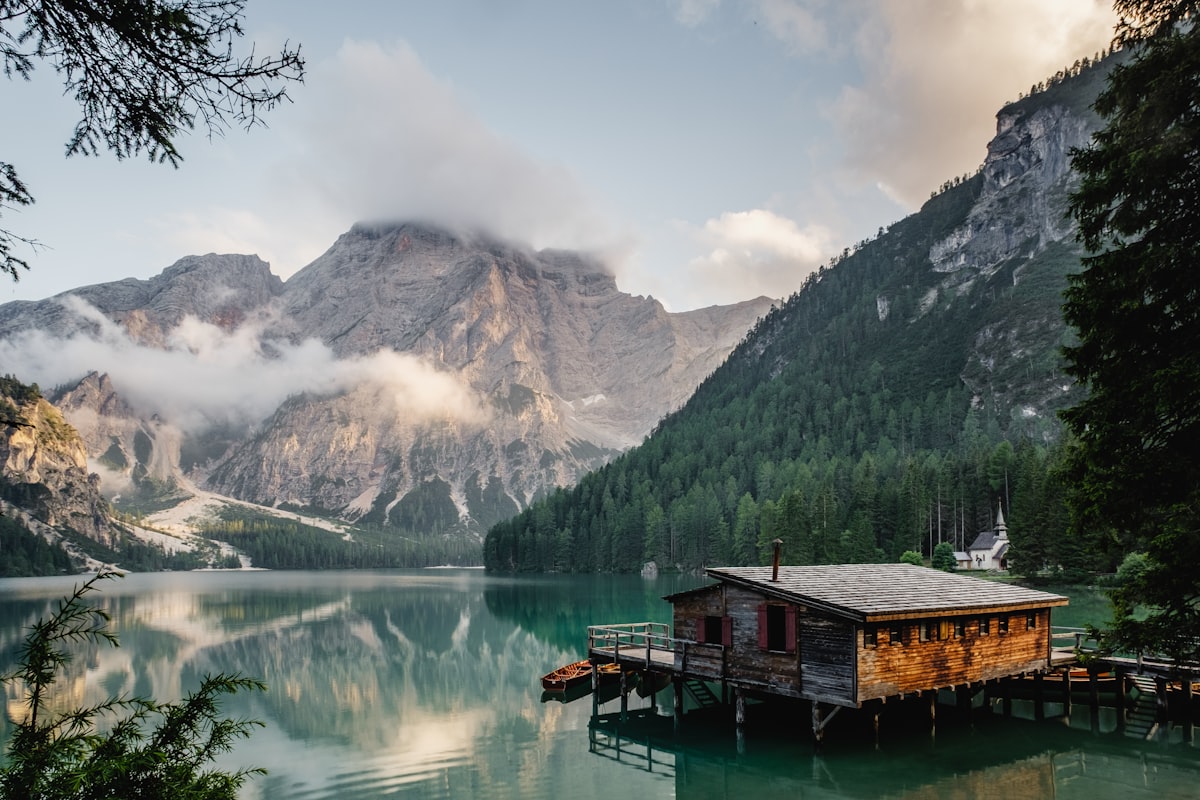
The Whangie is a short countryside walk in the Kilpatrick Hills, with an unusual rock cleft and panoramic views towards Loch Lomond. The standard route is manageable for many reasonably fit walkers, although the uneven and potentially muddy terrain requires suitable footwear.
| Planning detail | What to expect |
|---|---|
| Destination | The Whangie, Kilpatrick Hills, Scotland |
| Starting point | Queen’s View car park, A809 |
| Typical distance | Approximately 4.5 km / 2.75 miles return |
| Typical walking time | 1.5–2 hours, depending on conditions and stops |
| Terrain | Hill paths, uneven ground, muddy sections and rocks |
| Main attraction | A distinctive narrow rock corridor |
| Public transport | No direct public transport to the trailhead is listed by Walkhighlands |
| Recommended preparation | Walking shoes or boots, waterproof layers, water and an offline map |
These figures describe the commonly published route rather than a guarantee for every variation. Check the Walkhighlands route guide before departure for the walking description and current planning details.
Pro tip: Allow two to three hours if you want to take photographs, stop for the views, or walk at a relaxed pace. The additional time also gives you flexibility if the path is wet.
Where Is The Whangie Near Loch Lomond, Scotland?
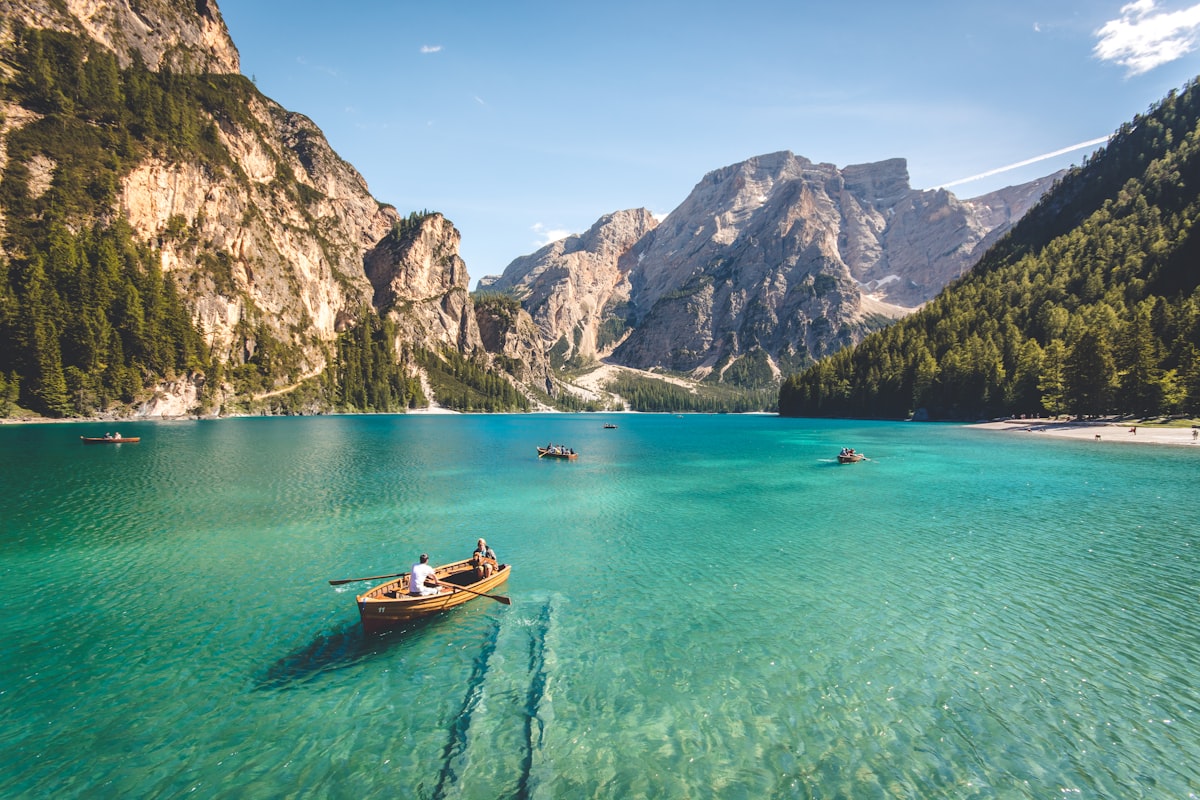
The Whangie is a distinctive rock formation on Auchineden Hill in the Kilpatrick Hills, east of Loch Lomond and north-west of Glasgow. The usual access point is Queen’s View car park beside the A809, between the Milngavie and Drymen area.
Although the walk is frequently associated with Loch Lomond, the rock formation is not beside the loch itself. It sits inland on elevated countryside, making the route a useful addition to a wider Scottish itinerary.
How do you get to the trailhead?
For most visitors, driving to Queen’s View car park is the most straightforward way to reach the start of the walk. The car park is beside the A809, and the route begins from the surrounding hillside.
- Enter Queen’s View car park into your navigation app and confirm the location before setting off.
- Check the parking arrangements and any charges displayed on arrival.
- Locate the trail access near the car park and follow the established route across the hillside.
- Use a reliable route map to identify the rock cleft rather than relying exclusively on mobile navigation.
For a wider overview of the landscape and geological setting, consult the Geological Society of Glasgow’s Whangie information sheet.
How Difficult Is the Whangie Hike?
The Whangie is a relatively short hill walk, but muddy sections, uneven ground and a steeper climb make it more demanding than a level park path. Walkers should assess the conditions and their own fitness rather than judging difficulty by distance alone.

Step 1: Start from Queen’s View car park
Begin by locating the marked route and checking the conditions before climbing the hillside. Take a moment to organise your backpack, check your footwear and confirm that your planned route matches your available time.
The initial section offers an opportunity to look across the surrounding countryside before continuing over the access point and towards the hillside path.
Step 2: Cross the hillside and climb gradually
Follow the established path as it climbs towards the northern side of Auchineden Hill. Some sections may be wet, soft or uneven, particularly after rainfall.
Keep your pace steady and avoid walking directly through deep mud when a safe, established route is available. Take extra care on exposed or slippery ground.
Step 3: Locate the rock corridor
The main attraction is the narrow cleft between large rock faces, reached by following the hillside route. The entrance can be less obvious than expected if you approach without checking the route description.
Look at your map before continuing past junctions or points where several paths appear to diverge. Do not scramble onto unstable rocks to obtain a better view.

Step 4: Explore carefully and return by your planned route
Explore the accessible sections of the rock formation cautiously, then retrace the established route or follow a mapped variation you have planned in advance. Wet rock, narrow passages and loose stones can increase the risk of slipping.
Walkhighlands provides a detailed route description and identifies the terrain as potentially muddy. Read its Whangie walking instructions before visiting.
What Makes the Whangie Hike Loch Lomond Scotland Special?
The main appeal is the combination of a distinctive rock corridor, open hillside walking and far-reaching views across the surrounding Scottish countryside. The formation provides a different experience from a conventional hill summit or a flat waterside trail.
A striking geological feature
The Whangie is a narrow cleft formed within the rock face of Auchineden Hill. Geological explanations associate the feature with the effects of glaciation and the separation of large rock slabs.
The result is a passage framed by substantial rock walls, giving the landscape a distinctive appearance. Visitors should remain on safe ground and avoid climbing exposed faces without the appropriate skills and equipment.
Views towards Loch Lomond and the Campsie Fells
On a clear day, walkers can enjoy views towards Loch Lomond, the Highlands and the Campsie Fells. Visibility depends on cloud cover, rain, mist and the direction of the light.

Photography opportunities along the walk
The best photographs often come from paying attention to composition instead of taking every picture from the same position. Try these approaches:
- Photograph the rock walls from a safe, established position.
- Use the natural lines of the cleft to frame the landscape.
- Capture wide views when the clouds lift.
- Include the path and surrounding hills to communicate the scale of the landscape.
- Keep a safe distance from exposed edges and avoid blocking narrow passages.
Photography tip: Cloudy conditions can create softer light on rock surfaces, while clearer weather may provide longer-distance views. Never delay your return or take risks to obtain a photograph.
Whangie Hike Parking and Transport Advice
Plan to use Queen’s View car park as the main access point, but verify the current parking tariff and payment requirements before leaving your vehicle. Charges and parking arrangements can change, so an older online price should not be treated as current.
What should you know about parking?
- Check the signs for the current fee, payment method and parking restrictions.
- Confirm that your registration details are entered correctly if the car park uses number-plate recognition.
- Do not assume that parking is free because an older travel article says so.
- Arrive early on suitable weekends if you want a better chance of finding a space.
- Never obstruct access routes or park on unsuitable roadside verges.
Recent local walking information reports that parking is charged, but a reliable current tariff should be confirmed on-site rather than guessed. For additional practical context, see the Whangie parking and access guide.
Can you reach The Whangie without a car?
Public transport does not provide a straightforward direct connection to the trailhead according to the published Walkhighlands guide. Travellers without a car should research current local bus connections, taxi options and the final approach before committing to the walk.
Do not assume that a service running between Glasgow and another nearby town will stop at Queen’s View. Check the route, service times and return arrangements for your specific travel date.
For broader journey planning, explore The Offers Guy’s trains and buses guide and car and bike rental resources.
When Is the Best Time to Walk The Whangie?
The best time to visit is a day when visibility, wind and ground conditions are suitable for your experience and equipment. Scotland’s weather can change quickly, so a season alone does not guarantee a safe or scenic walk.

Spring and summer
Longer daylight hours can provide more flexibility for walking and photography. However, wet ground, strong winds, midges and rapidly changing visibility can still affect the experience.
Autumn
Autumn can offer attractive colours and atmospheric cloud formations. Shorter days and damp paths mean you should start early enough to finish comfortably before darkness.
Winter
Cold weather, ice, strong winds and limited daylight can make the route more challenging. Avoid exposed or icy sections if you lack suitable equipment and experience.
Check the Met Office weather forecast before leaving and reassess conditions if the forecast changes.
What Should You Pack for The Whangie Walk?
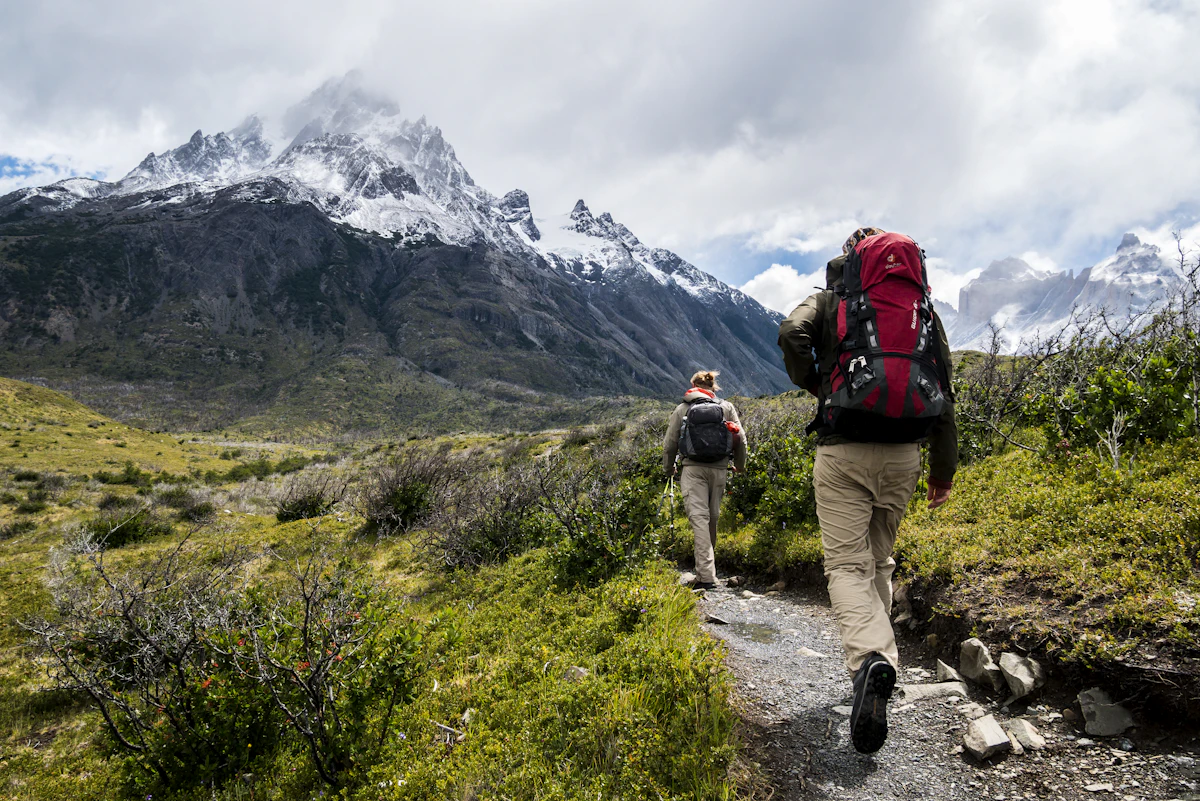
Bring footwear with reliable grip, waterproof clothing, drinking water, a charged phone and an offline route map. Even a relatively short Scottish hill walk deserves proper preparation because the terrain and weather can change the difficulty.
- Walking footwear: Choose shoes or boots with good grip and support for muddy, uneven paths.
- Waterproof jacket: Carry a layer that can protect you from rain and wind.
- Warm clothing: Pack extra layers even when the conditions look mild at the start.
- Drinking water: Bring enough for the expected duration and your individual needs.
- Food: Carry a small snack if you need extra energy during the walk.
- Navigation: Download the route map and know how to identify your position.
- Phone and power bank: Keep your phone charged, but do not rely on continuous mobile reception.
- Small first-aid kit: Carry basic supplies for minor problems.
- Headtorch: Consider one during the shorter-day seasons or if delays are possible.
Pro tip: Keep a waterproof layer accessible near the top of your bag rather than burying it under everything else. If rain arrives during the climb, quick access is more useful than carrying extra items you cannot reach easily.
Safety Tips for the Whangie Hike
The safest approach is to check the forecast, follow an appropriate route, stay away from unstable edges and turn back if the conditions exceed your ability. A short distance does not eliminate the risks associated with wet rock, strong winds or poor visibility.
Check the forecast and ground conditions
Rain can turn sections of the path muddy, while cold conditions can make rocks slippery. Strong winds and mist may reduce visibility and make exposed areas less comfortable.
Respect the rock formation
Stay on secure ground and avoid climbing the rock walls or stepping onto loose stones. Narrow sections may require patience when other walkers are passing through.
Plan your return before you start
Tell someone your intended route and expected return time. Keep enough daylight for the walk back, and do not continue simply because you have already invested time in reaching the formation.
For wider guidance on responsible access and outdoor behaviour, read the Scottish Outdoor Access Code. The guidance explains how visitors can enjoy Scotland’s outdoors while respecting people, land and the environment.
Important: If you become lost, injured or unable to continue safely, seek appropriate assistance. In a serious emergency in the UK, call 999 or 112 and ask for the relevant emergency service.
A Practical Half-Day Itinerary for The Whangie
A half-day plan gives you time to reach the trailhead, complete the walk, enjoy the scenery and handle small delays without rushing. The schedule below is an example rather than a fixed timetable; adapt it to daylight, weather and your travel arrangements.
| Stage | Suggested allocation | What to do |
|---|---|---|
| Before departure | 15–20 minutes | Check the weather, navigation, footwear and parking information. |
| Arrival | 10–15 minutes | Park correctly, organise your bag and identify the route. |
| Outbound walk | 35–60 minutes | Follow the path and allow for muddy or uneven sections. |
| Rock formation | 15–30 minutes | Explore safely and take photographs without blocking the path. |
| Return walk | 35–60 minutes | Retrace the route or follow your pre-planned variation. |
| Extra flexibility | 30–60 minutes | Allow for slower walking, weather delays and additional stops. |
Walking times vary, so use the table to organise your day rather than treating the estimates as guaranteed durations. If conditions deteriorate, shorten the visit instead of trying to complete every planned stop.
How much should you budget?
Your main trip costs are likely to be transport, parking, food and any accommodation required for a longer visit. The total depends on where you start, how you travel and whether you combine the walk with other attractions.
- Check the current car park fee before departure.
- Calculate fuel or public transport costs for the complete return journey.
- Pack water and snacks if you want to reduce incidental spending.
- Check accommodation prices separately if staying overnight in the region.
Do not assume the walk has no costs simply because the trail itself is outdoors. Parking and transportation can make a noticeable difference to the final budget.
For further planning, visit The Offers Guy’s trip-planning resource and accommodation guide.
How to Include The Whangie in a Wider Scotland Trip
The Whangie works well as a half-day outdoor stop within a broader itinerary around western Scotland. Choose additional destinations according to your transport, weather, available daylight and interests rather than trying to fit too many activities into one day.
Visitors can research nearby lochside walks, viewpoints and villages, but should check the travel time between each stop before finalising the itinerary. Distances on a map do not always translate into short driving times on rural roads.

Use The Offers Guy’s travel destination ideas to research additional places and its vacation inspiration guide to develop a practical route.
If you are travelling with children, choose a pace that suits their walking ability and the weather. The Whangie includes uneven ground and a narrow rocky feature, so supervise children closely and do not assume every section is suitable for every age group.
For travellers interested in other walking destinations, The Offers Guy also has a guide to hikes with kids. Treat it as general hiking preparation, not as a substitute for local route information.
Frequently Asked Questions About The Whangie Hike
These answers cover the practical questions walkers commonly need to resolve before visiting the Kilpatrick Hills.
How long does the Whangie hike take?
The standard route takes approximately 1.5–2 hours of walking, depending on pace and ground conditions. Allow extra time for photographs, rest stops and any route variation.
How far is the Whangie walk?
The commonly published route is around 4.5 km, or 2.75 miles, return. The actual distance can vary if you add a summit visit or choose a different circuit.
Where does the Whangie walk start?
The usual starting point is Queen’s View car park on the A809, near the Kilpatrick Hills. Confirm the location and current parking conditions before travelling.
Is the Whangie hike difficult for beginners?
It can suit reasonably fit beginners who are comfortable walking uphill on uneven terrain. Mud, slippery rocks, poor visibility and wind can increase the difficulty, so choose a suitable day and wear footwear with good grip.
Can you see Loch Lomond from The Whangie?
Yes, views towards Loch Lomond are possible from the surrounding hillside when visibility is good. Cloud, mist and rain can restrict the view, so the experience depends on the weather.
Is parking at Queen’s View car park free?
Do not assume it is free. Recent local information reports paid parking, but the current tariff and payment arrangements should be checked on the signs when you arrive.
Can you visit The Whangie in winter?
Winter visits may be possible when conditions are suitable, but ice, strong winds, cold temperatures and short daylight hours can make the route more hazardous. Check the forecast and avoid terrain beyond your experience or equipment.
Is The Whangie suitable for children?
Some families may enjoy the walk, but suitability depends on each child’s age, fitness and experience. Muddy paths, uneven ground and exposed rocks require close supervision, and children should not climb the rock walls.
What should I wear for the Whangie hike?
Wear walking footwear with good grip, comfortable layers and a waterproof jacket. Check the forecast and carry extra warmth and navigation essentials because hill conditions can change quickly.
Can you reach the Whangie without a car?
Reaching the trailhead by public transport may be difficult because there is no direct service listed in the standard walking guide. Check current services and arrange any necessary onward transport before setting off.
Final Takeaway: Plan a Better Whangie Walking Day
The Whangie hike Loch Lomond Scotland offers a memorable combination of unusual geology, open hillside views and a manageable walking distance for many reasonably fit hikers. Its short length makes it appealing, but the muddy ground, changing weather and rocky terrain still deserve careful preparation.
Before setting out, check the latest route guidance, confirm parking arrangements, pack waterproof layers and leave enough time to return safely. If conditions are unsuitable, changing your plans is better than taking unnecessary risks.
For your final checks, consult the detailed Whangie route guide, the Met Office forecast and the Scottish Outdoor Access Code. Together, these resources help you make an informed decision before visiting.