Hiking Angels Landing Zion National Park is a challenging adventure that combines steep sandstone climbs, exposed ridgelines, and sweeping views of Zion Canyon. You need a permit to hike the final section, and the narrow chain-assisted route demands careful judgment, suitable footwear, and a realistic assessment of your fitness.
This guide explains how to apply for a permit, reach the trailhead, understand the difficulty, prepare for changing conditions, and decide whether Angels Landing is the right hike for your trip to southern Utah.

What Makes Hiking Angels Landing Zion National Park Special?
Angels Landing is a strenuous Zion Canyon hike known for its steep ascent, exposed ridgeline, and panoramic views from a high sandstone summit. The trail offers a memorable experience for prepared hikers, but its narrow sections are not suitable for everyone.
Located in Zion National Park near Springdale, Utah, Angels Landing rises more than 1,000 feet above the canyon floor. The route passes through steep switchbacks before reaching Scout Lookout, followed by a narrow ridge with chains to assist hikers on exposed sections.

Angels Landing trail facts
The standard Angels Landing route is approximately 5.4 miles round trip, with about 1,488 feet of elevation gain. Many hikers take around four hours, although conditions, crowding, fitness, and rest stops can make the trip longer.
| Trail detail | What to expect |
|---|---|
| Location | Zion National Park, Utah, USA |
| Round-trip distance | Approximately 5.4 miles |
| Elevation gain | Approximately 1,488 feet |
| Typical hiking time | About four hours; allow extra time |
| Difficulty | Strenuous, with exposed drop-offs |
| Permit | Required for the Angels Landing section beyond Scout Lookout |
| Popular starting point | The Grotto shuttle stop and trailhead |
Trail measurements and hiking times are planning estimates, not guarantees. Review the National Park Service’s official Angels Landing guidance before your visit because access rules and conditions can change.
How to Get an Angels Landing Hiking Permit
Every hiker entering the Angels Landing chain-assisted section needs a permit issued through the official lottery system. You can apply through the seasonal lottery or the day-before lottery, but selection is not guaranteed.

Option 1: Apply through the seasonal lottery
The seasonal lottery lets you request preferred hiking dates and time windows months ahead of your visit. Applicants can rank seven preferred dates and times or date windows, according to the National Park Service instructions.
- Open the official Angels Landing permit page.
- Follow its link to the permit application on Recreation.gov.
- Choose and rank your preferred dates and time windows.
- Submit the application during the relevant lottery period.
- Check your result and save your permit confirmation if selected.
The application fee is $6 per application for groups of up to six people. Successful applicants also pay a $3-per-person permit fee. Confirm current fees and lottery dates on the official website before applying.
Option 2: Apply through the day-before lottery
The day-before lottery provides another opportunity if you missed the seasonal lottery or did not receive a permit. Under the published rules, applications open at 12:01 a.m. Mountain Time and close at 3 p.m. Mountain Time on the day before your intended hike.
Results are issued after 4 p.m. Mountain Time. The application fee is non-refundable, so check the current terms before submitting your request.
Pro tip: Download your permit confirmation and keep it accessible offline. Mobile phone service may be unreliable near the trail, and rangers can check permits at different points along the route.
For applications, fees, lottery dates, and permit conditions, use Recreation.gov and the official National Park Service website rather than relying on outdated third-party instructions.
How Difficult Is the Angels Landing Trail?
Angels Landing is a strenuous hike that combines sustained climbing with narrow, exposed terrain where a fall could be fatal. Good general fitness helps, but comfort with heights, balance, weather conditions, and decision-making are equally important.
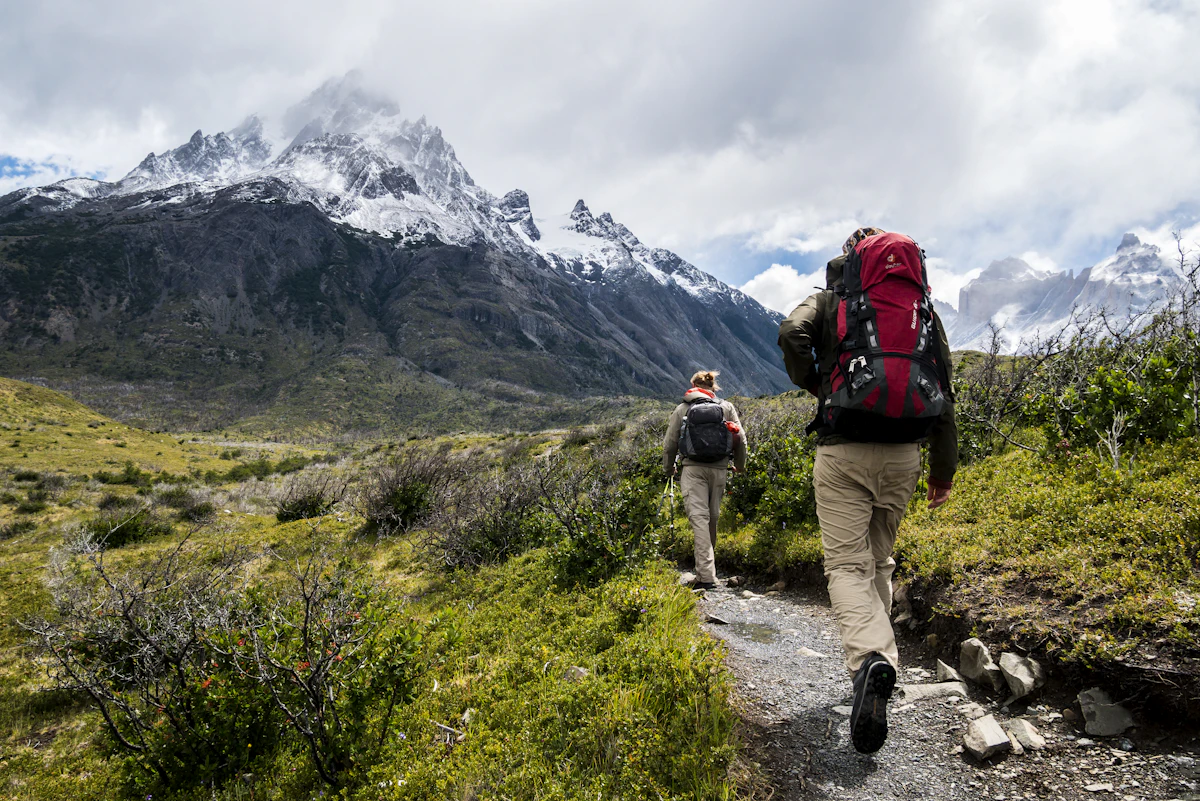
The first part of the route climbs through a series of steep switchbacks, including the section commonly known as Walter’s Wiggles. The trail then reaches Scout Lookout, where hikers can pause and assess the remaining route.
Beyond Scout Lookout, the route narrows and includes chains anchored into the rock. Hikers may encounter other people moving in the opposite direction, so patience and stable footing matter.
Should you continue beyond Scout Lookout?
Continue only if you have the required permit, conditions are suitable, and you feel comfortable with the exposed terrain. Reaching Scout Lookout is a worthwhile objective even if you decide the final section is not appropriate for you.
- Do not continue if heights make you feel unsteady or panicked.
- Avoid the exposed section during thunderstorms, lightning, icy conditions, or other hazardous weather.
- Keep your hands available for the chains rather than holding a phone or camera.
- Give other hikers room to move safely and never rush to clear a narrow section.
- Turn around whenever conditions or your confidence deteriorate.
There is no shame in stopping at Scout Lookout. A safe turnaround is better than continuing into terrain that exceeds your abilities.
Seven Essential Tips for Hiking Angels Landing Zion National Park
1. Start early enough for your permit window
Choose a start time that gives you enough daylight and a comfortable margin before the last shuttle. Factor in the time required to reach the visitor centre, ride the shuttle, use the facilities, and walk to the trailhead.
Do not assume that an early start eliminates crowds or hazards. Always check the latest shuttle schedule and weather forecast before leaving your accommodation.
2. Wear hiking shoes with reliable traction
Use well-fitting hiking footwear with dependable grip and secure laces. Loose shoes, worn soles, and uncomfortable footwear can make rocky steps and steep descents more difficult.
Break in new footwear before your trip. Choose clothing that allows free movement and add layers if temperatures are expected to change.
3. Carry sufficient water and food
Bring enough drinking water and energy-rich snacks for the full outing, including unexpected delays. The steep climb, desert climate, and exposed sections can increase the demands on your body.
- Carry water in bottles or a hydration reservoir.
- Pack snacks that are easy to eat during rest breaks.
- Bring sun protection, including a hat and sunscreen.
- Drink regularly rather than waiting until you feel very thirsty.
There is no single water quantity that suits every hiker. Temperature, pace, body size, and personal needs all affect consumption. Check current park guidance and bring more than a minimal supply.
4. Check weather and trail conditions
Review the forecast and park alerts before setting out, and postpone the hike if conditions make the exposed route unsafe. Rain, ice, lightning, and strong winds can turn an already challenging trail into a dangerous one.
Use the National Park Service Zion conditions page for current trail notices. A forecast for Springdale may not perfectly represent conditions on the higher trail.
5. Keep your attention on the route
Move slowly through exposed sections and prioritize stable footing over photographs. Stop only where you can do so safely without blocking other hikers.
Keep your phone and camera secured when you are moving. Never lean over an edge or step away from a safe position to capture a better angle.
6. Choose companions carefully
Hike with people who understand the route’s difficulty and respect each person’s decision to turn back. Do not pressure a companion to continue beyond their comfort level.
Children and inexperienced hikers may be better served by a less exposed trail. The scenic approach to Scout Lookout is still strenuous, so assess each person’s abilities rather than assuming that stopping short makes the hike easy.
7. Keep a backup plan
Choose an alternative trail before arriving so a denied permit or unsafe conditions do not derail your entire day. Zion has several excellent hiking options that do not require an Angels Landing permit.
For more outdoor trip-planning ideas, explore The Offers Guy’s tours and activities guide and travel blog.
How to Get to the Angels Landing Trailhead
During the Zion Canyon shuttle season, most visitors use the park shuttle to reach The Grotto, the stop serving the Angels Landing trailhead. Personal vehicles generally cannot use the Zion Canyon Scenic Drive during shuttle operations, except under specific authorised access arrangements.

Plan your transport in advance
- Arrive at the park early enough to find parking or use an appropriate local parking option.
- Check the current Zion Canyon shuttle timetable and stop locations.
- Ride to The Grotto and follow the marked route to the trailhead.
- Record the final return-shuttle departure time before starting your hike.
Shuttles are free to ride, but park entry fees or a valid park pass still apply. Services and schedules change seasonally. The official Zion Canyon Shuttle System page provides current operating information.
If you are organising a wider road trip, The Offers Guy also has guides to hotel and accommodation planning and car and bike rentals.
What Should You Pack for Angels Landing?
Pack for a strenuous day hike with exposed terrain, changing weather, and limited opportunities to access supplies along the route. Carry the essentials yourself instead of depending on facilities near the summit.

| Item | Why it matters |
|---|---|
| Hiking footwear | Improves grip and stability on rocky ground |
| Water and snacks | Supports hydration and energy during the climb |
| Sun protection | Helps limit sun exposure in open sections |
| Weather-appropriate layers | Help you adapt to changing temperatures |
| Permit confirmation and identification | Allows you to respond to permit checks |
| Offline park map | Remains available where mobile service is unreliable |
| Small first-aid kit | Helps address minor problems during the outing |
| Headlamp | Provides backup light if your return takes longer than expected |
Keep your bag manageable and secure loose items. Avoid carrying unnecessary equipment that could interfere with balance or become a distraction on narrow terrain.
Best Alternatives If You Cannot Get an Angels Landing Permit
If you do not receive an Angels Landing permit, you can still enjoy Zion Canyon through other trails and viewpoints. Choose an alternative based on your fitness, available time, current trail status, and comfort with heights.

Scout Lookout
Scout Lookout provides an impressive canyon setting without requiring a permit for the final Angels Landing section. The approach is still strenuous, with significant climbing and steep switchbacks, so it is not an easy substitute.
Follow all current trail restrictions and turn around at the designated point if you do not have an Angels Landing permit.
Emerald Pools trails
The Emerald Pools area offers a different way to experience Zion’s cliffs, vegetation, and canyon scenery. Available routes and difficulty levels vary, and trail conditions may affect access.
Check the official Zion trail conditions before selecting a route.
The Riverside Walk
Riverside Walk provides a generally less exposed paved walking route alongside the Virgin River. It is a useful alternative for visitors who want canyon scenery without attempting the chain-assisted Angels Landing ridge.
Do not confuse Riverside Walk with the more demanding Narrows hike, which involves different river conditions and safety considerations.
For other destination ideas, visit The Offers Guy’s package tours guide to help organise a wider Utah itinerary.
A Practical One-Day Angels Landing Itinerary
A successful hiking day begins with a permit check, an early transport plan, and enough flexibility to turn back safely. Use this example as a planning framework, then adjust it to your permit time, the season, and official trail updates.
| Stage | Suggested activity |
|---|---|
| Before leaving | Check weather, trail alerts, permit confirmation, and shuttle times |
| Early morning | Park or arrange transport and enter Zion Canyon |
| At The Grotto | Confirm your supplies and follow the trail signs |
| During the ascent | Take controlled breaks and assess how you feel |
| At Scout Lookout | Decide whether conditions and your abilities support continuing |
| Return journey | Descend carefully and leave ample time for the shuttle |
| After hiking | Rest, rehydrate, and review your next day’s travel plans |
Do not treat these stages as fixed departure times. Your permit time, shuttle schedule, weather, trail congestion, and hiking pace should determine the actual itinerary.
If you are travelling from outside the area, plan accommodation and transport before your visit. The Offers Guy’s resources for airport transfers, flights, and travel insurance can help with broader trip logistics.
Common Mistakes to Avoid on Angels Landing
The biggest preventable mistakes are hiking without the required permit, ignoring changing weather, underestimating the exposure, and leaving too little time for the return journey. A simple preparation routine reduces these risks.
- Do not assume that entering Zion National Park automatically permits you to hike Angels Landing.
- Do not rely on a phone signal to retrieve your permit at the trailhead.
- Do not wear footwear with poor traction or carry loose gear on exposed sections.
- Do not continue merely because you have already climbed most of the route.
- Do not plan to catch the last shuttle with no time to spare.
- Do not assume a trail is open because it was accessible on a previous visit.
Review official alerts on the day of your hike. If a ranger advises you to stop or conditions deteriorate, follow the guidance rather than trying to complete the route at all costs.
Final Takeaway
Hiking Angels Landing Zion National Park can be a remarkable experience for prepared hikers who obtain the required permit and are comfortable with steep, exposed terrain. Your best preparation is straightforward: understand the route, check the latest official guidance, carry essential supplies, plan your transport, and make safety more important than reaching the summit.
If the final ridge is not suitable for you, Scout Lookout and other Zion trails offer rewarding alternatives. A well-planned day is one in which you enjoy the park and return safely, whether or not you reach the top.
Frequently Asked Questions
These answers cover the practical questions hikers commonly ask before planning an Angels Landing visit. Select a question to expand the answer.
1. Do you need a permit to hike Angels Landing?
Yes. A permit is required for the Angels Landing section beyond Scout Lookout. Apply through the official seasonal or day-before lottery and carry your permit confirmation when hiking.
2. How long does hiking Angels Landing take?
The approximately 5.4-mile round trip commonly takes around four hours. Your pace, breaks, crowds, weather, and trail conditions can make the outing longer, so allow extra time.
3. How difficult is Angels Landing for beginners?
Angels Landing is strenuous and includes exposed terrain with steep drop-offs. Beginners who are uncomfortable with heights or lack suitable fitness may prefer Scout Lookout or another less exposed Zion trail.
4. Can you hike to Scout Lookout without an Angels Landing permit?
Generally, visitors can hike to Scout Lookout without an Angels Landing permit when the trail is open. The permit is required to continue onto the Angels Landing section. Always check current park restrictions.
5. What is the best time of day to hike Angels Landing?
The best start time depends on your permit window, weather, daylight, and shuttle operations. Choose a time that gives you enough margin to finish safely rather than rushing to catch the return shuttle.
6. What happens if you do not win a permit?
You can try the day-before lottery if eligible or explore alternatives such as Scout Lookout, Emerald Pools, and Riverside Walk. Check trail availability and difficulty before choosing a replacement.
7. Is Angels Landing safe in rain or snow?
Wet, icy, or stormy conditions can make the exposed route especially hazardous. Check official alerts and weather forecasts, and postpone the hike when conditions are unsafe. Never assume the chains eliminate fall risk.
8. What should you bring for the Angels Landing hike?
Bring secure hiking footwear, sufficient water, food, sun protection, suitable layers, your permit confirmation, identification, an offline map, and a small first-aid kit. A headlamp is useful backup equipment.
9. Can children hike Angels Landing?
There is no substitute for assessing each child’s fitness, judgment, and comfort with heights. The route is strenuous and exposed, so families should review official safety guidance carefully and consider less exposed alternatives.
10. Where can you check official Angels Landing trail conditions?
Use the National Park Service Angels Landing page, the Zion trail conditions page, and the official shuttle schedule before leaving.
Editorial note: Trail distances, hiking times, permit procedures, and transport arrangements can change or vary with conditions. Confirm current details with the National Park Service before travelling.